# Poking Objects
{% tabs %}
{% tab title="Tutorial" %}
Assets that can be *poked* is similar to a simple button mechanic where you press an asset and it goes down, and snaps back when left alone.
Add Pokeable Gameobject...
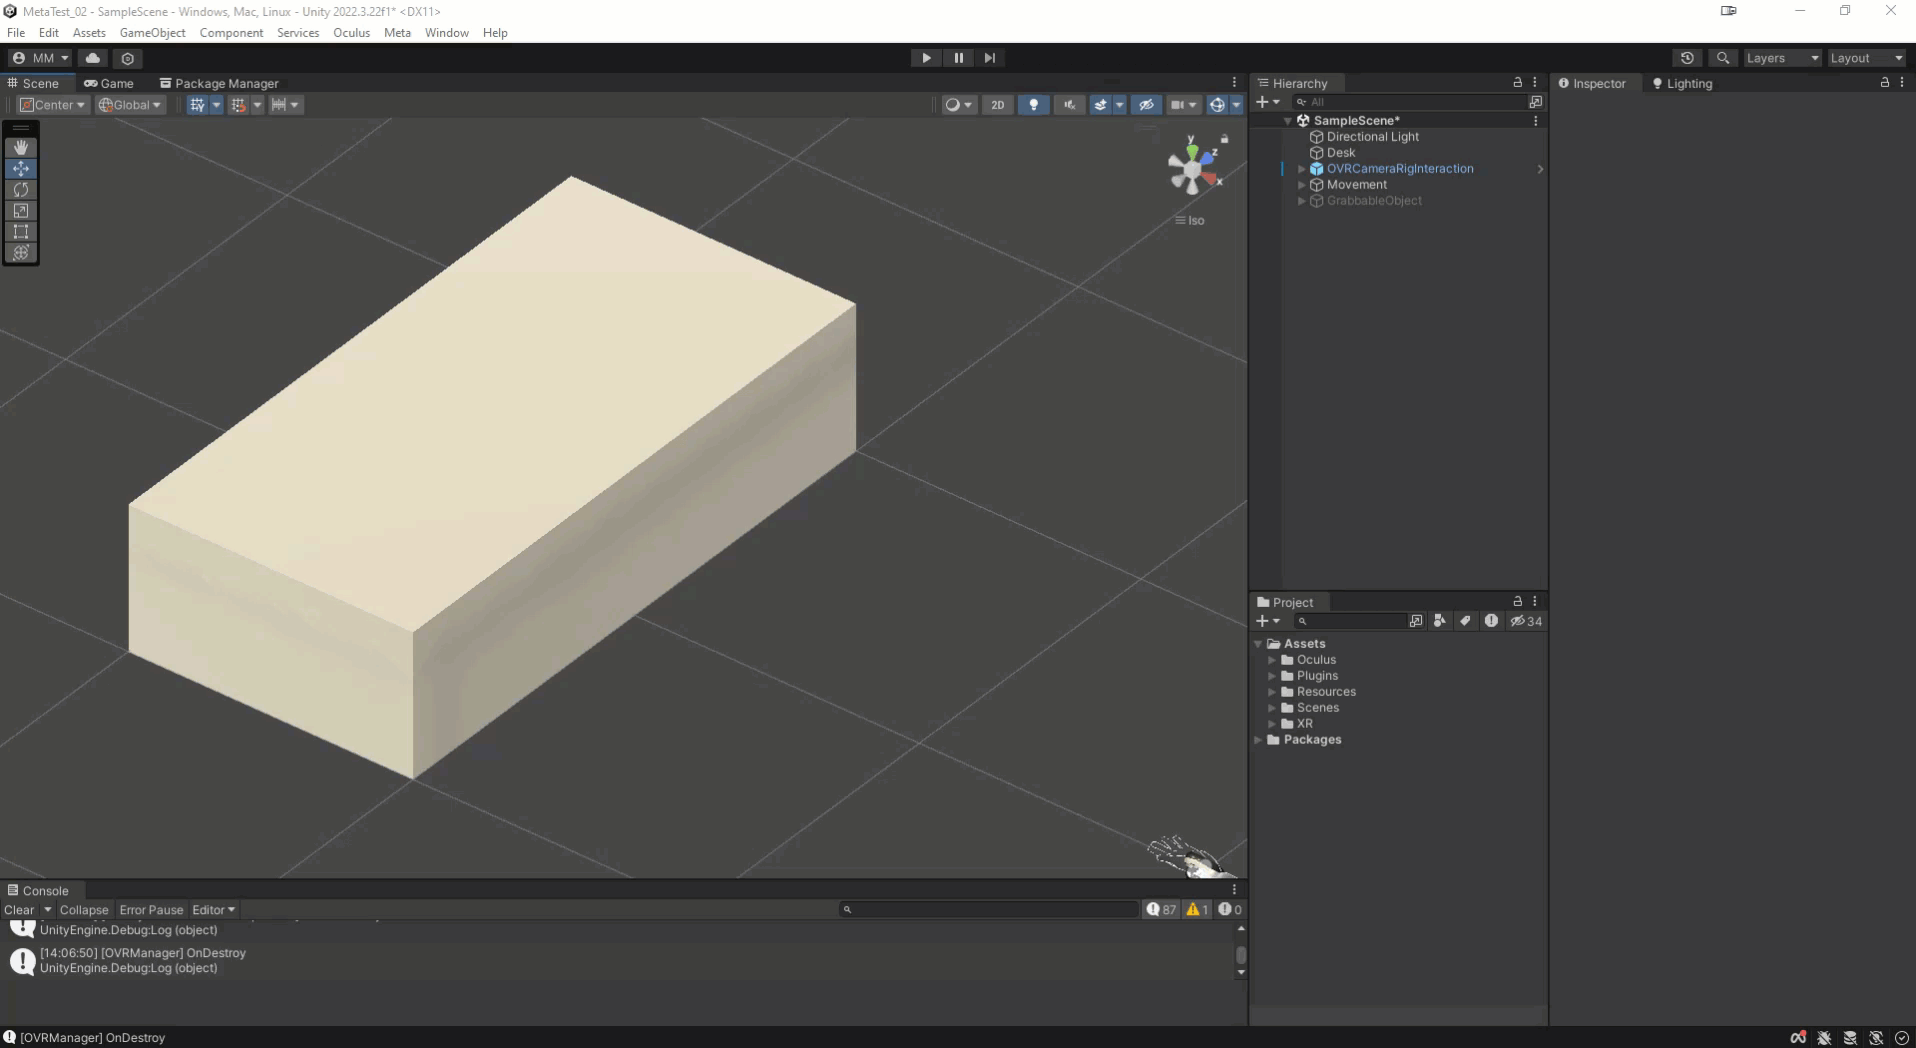
* Add an *empty* game object in the space.
* Rename it 'Pokeable' for reference.
* Add a 'Poke Interactable' component to the asset.
Add Surface Asset...
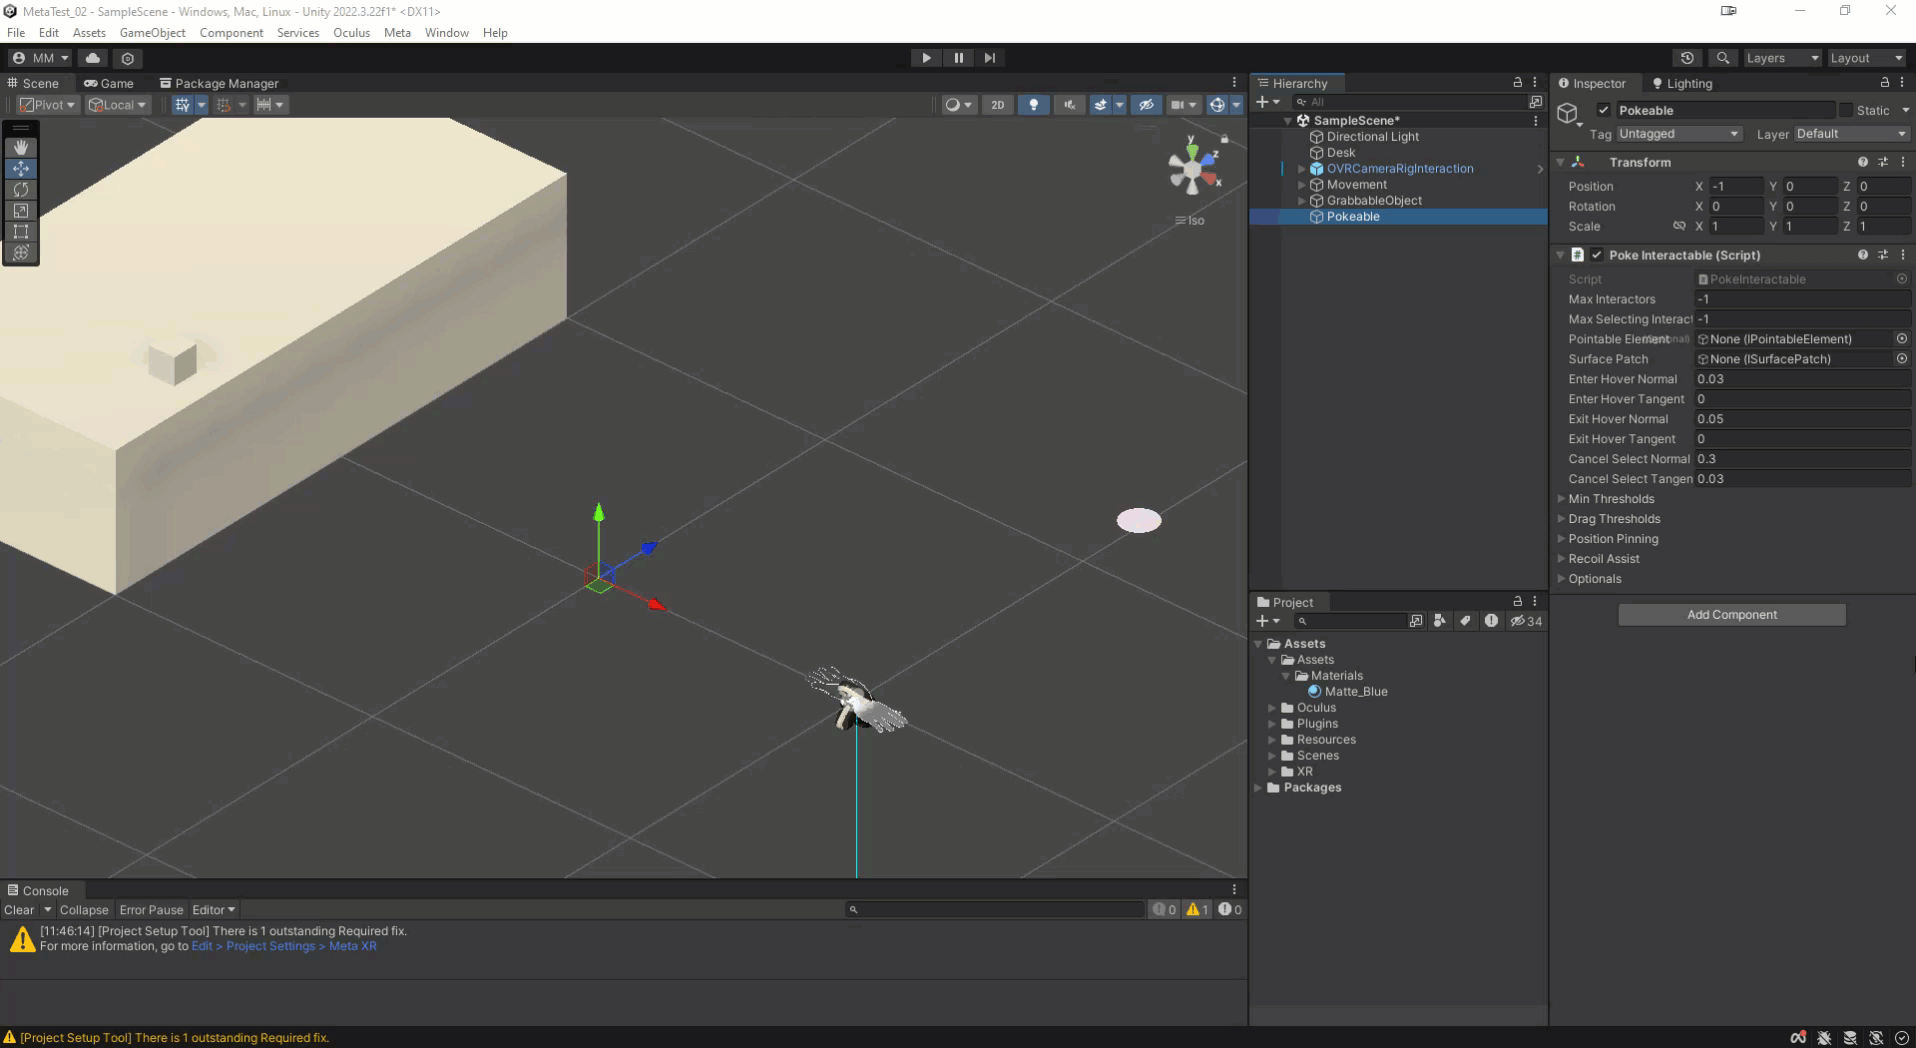
* Add an empty gameobject as a child of 'Pokeable' that we can use as our *Surface*.
* Rename this asset 'Surface' for reference.
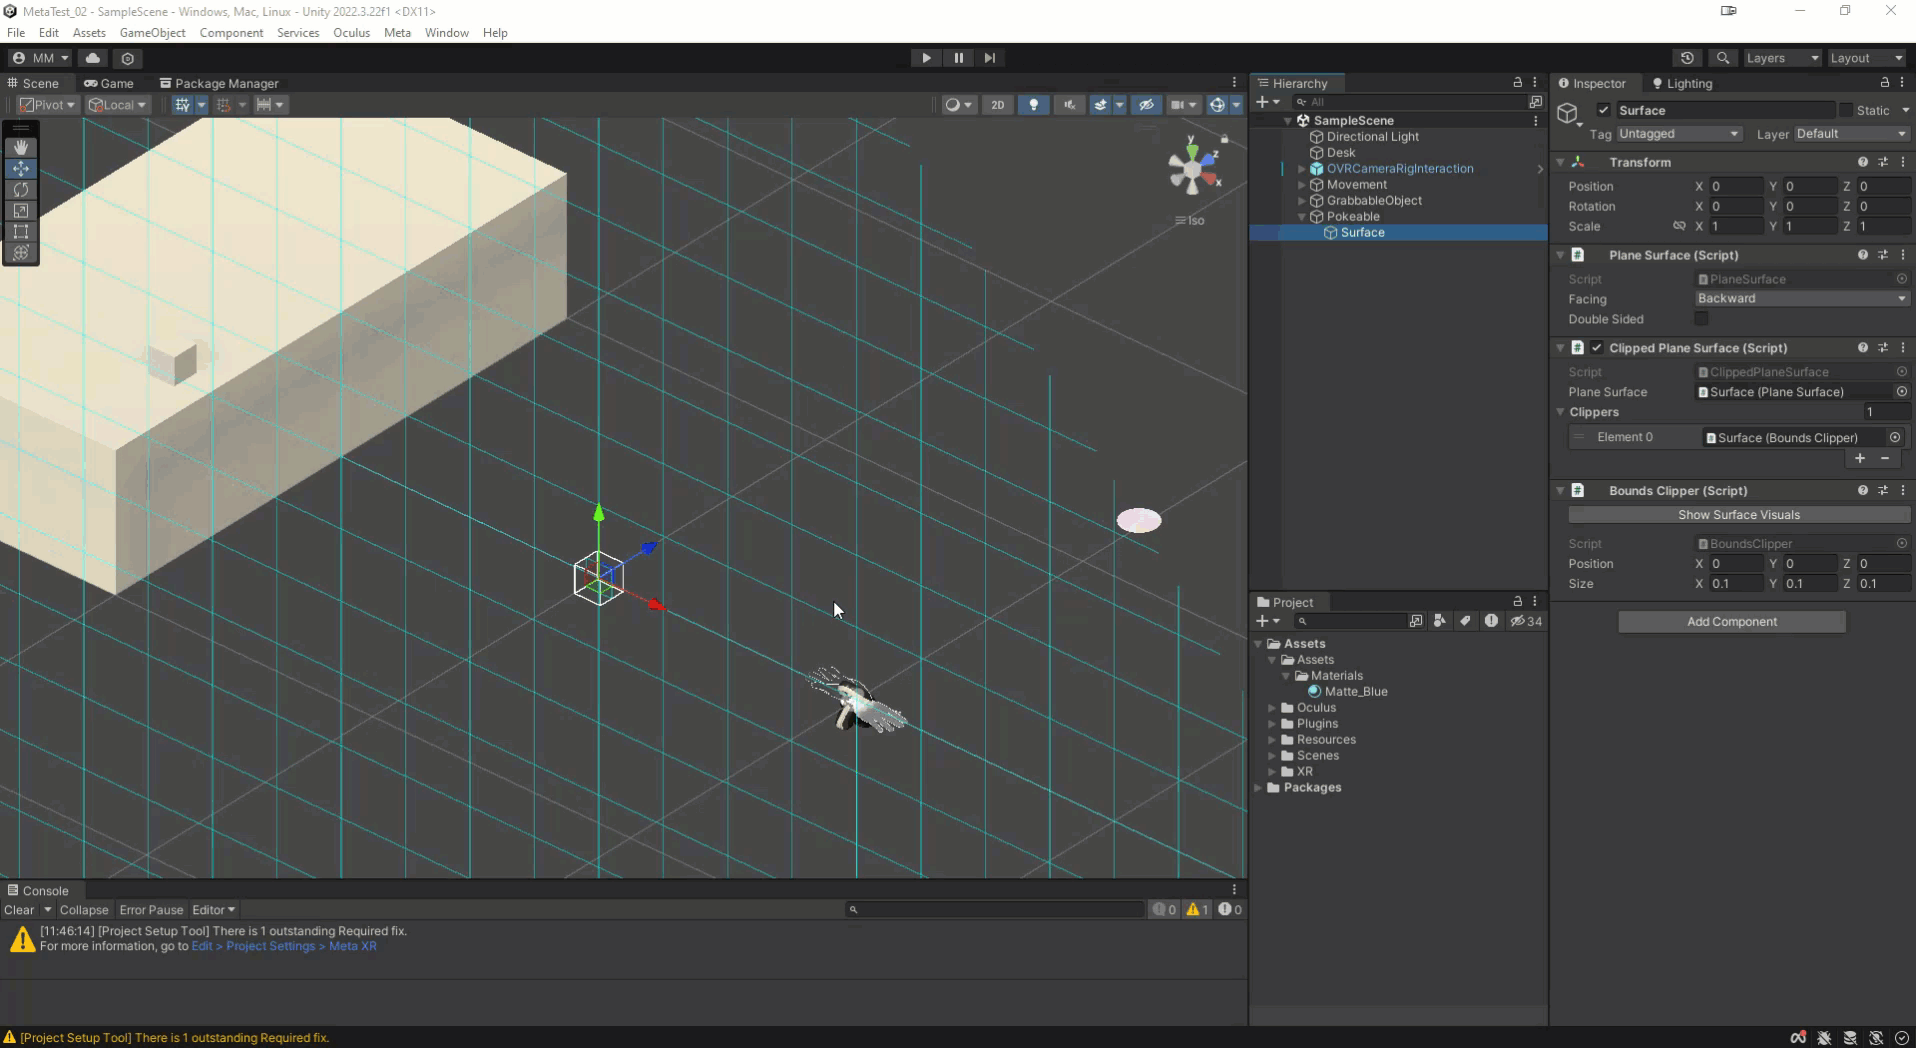
* Add a 'Plane Surface' Component to the asset.
* Add a 'Clipped Plane Surface' component to the asset.
* Drag the 'Plane Surface' component onto the 'Plane Surface' property.
* Add a 'Bounds Clipper' component to the asset.
* Add a property to the Clippers List under 'Clipped Plane Surface' component.
* Drag the 'Bounds Clipper' component into the Clippers list category.
* Adjust the size of the clipper to a more accurate button size.
* In this case x:0.1, y:0.1, z:0.1 is a good start.
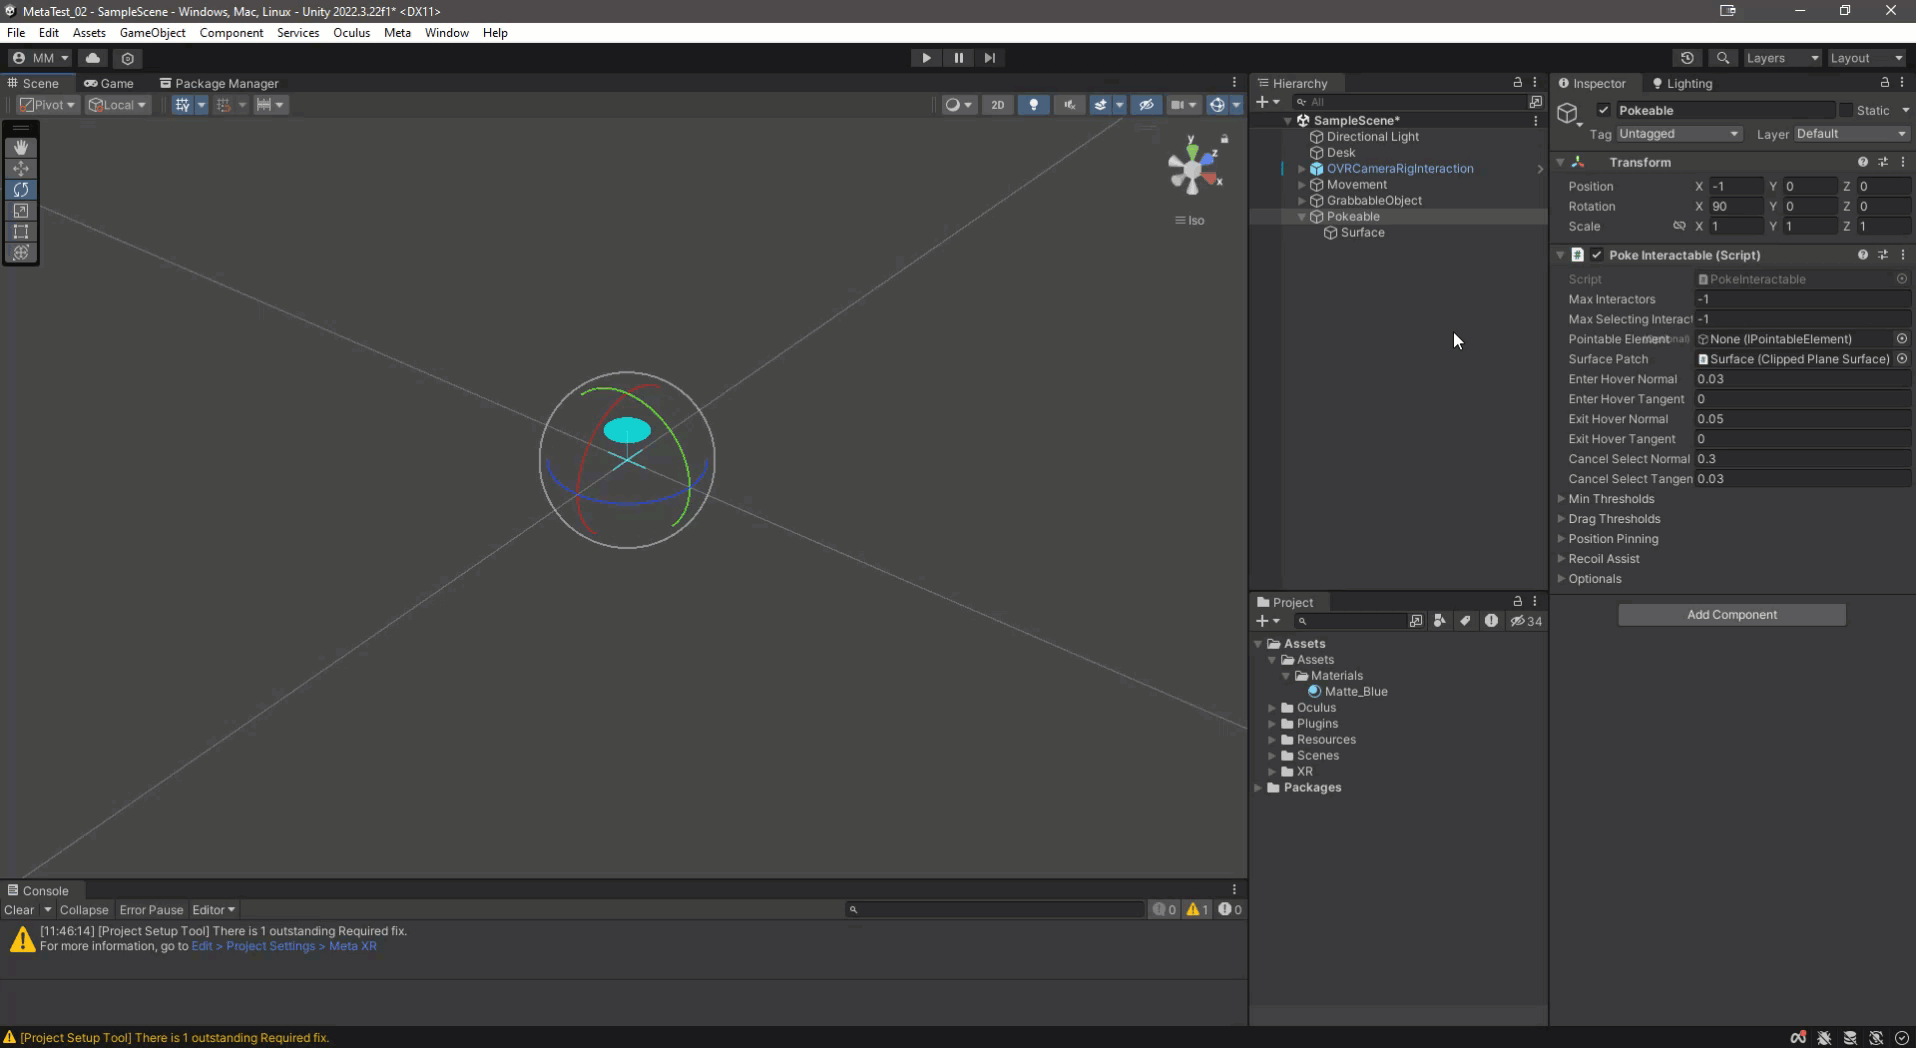
* It is not recommended to rotate the surface asset as this may affect how well the button functions, it is best to rotate the parent 'Pokeable' asset.
Rotate the Surface Asset and adjust components..
* Rotate the 'Pokeable' Asset so the blue surface faces the direction of the button.
* Facing up would be a button on a table for example.
* Drag the 'Surface' asset onto the 'Surface Patch' property on the 'Pokeable' parent assets 'Poke Interactable' component.
* Adjust the scale of the Surface Bounds Clipper to the button size height (now that it has the correct direction).
* If you want the Height position of the button to be higher or lower you can edit the 'Enter Hover Normal' property in the 'Poke Interactable' component.
* Don't forget to adjust the button mesh to match.
Add the button object...
* Add a simple cube or asset as a child of the 'Pokeable' asset to as your button asset.
* Rename it 'Button' for reference.
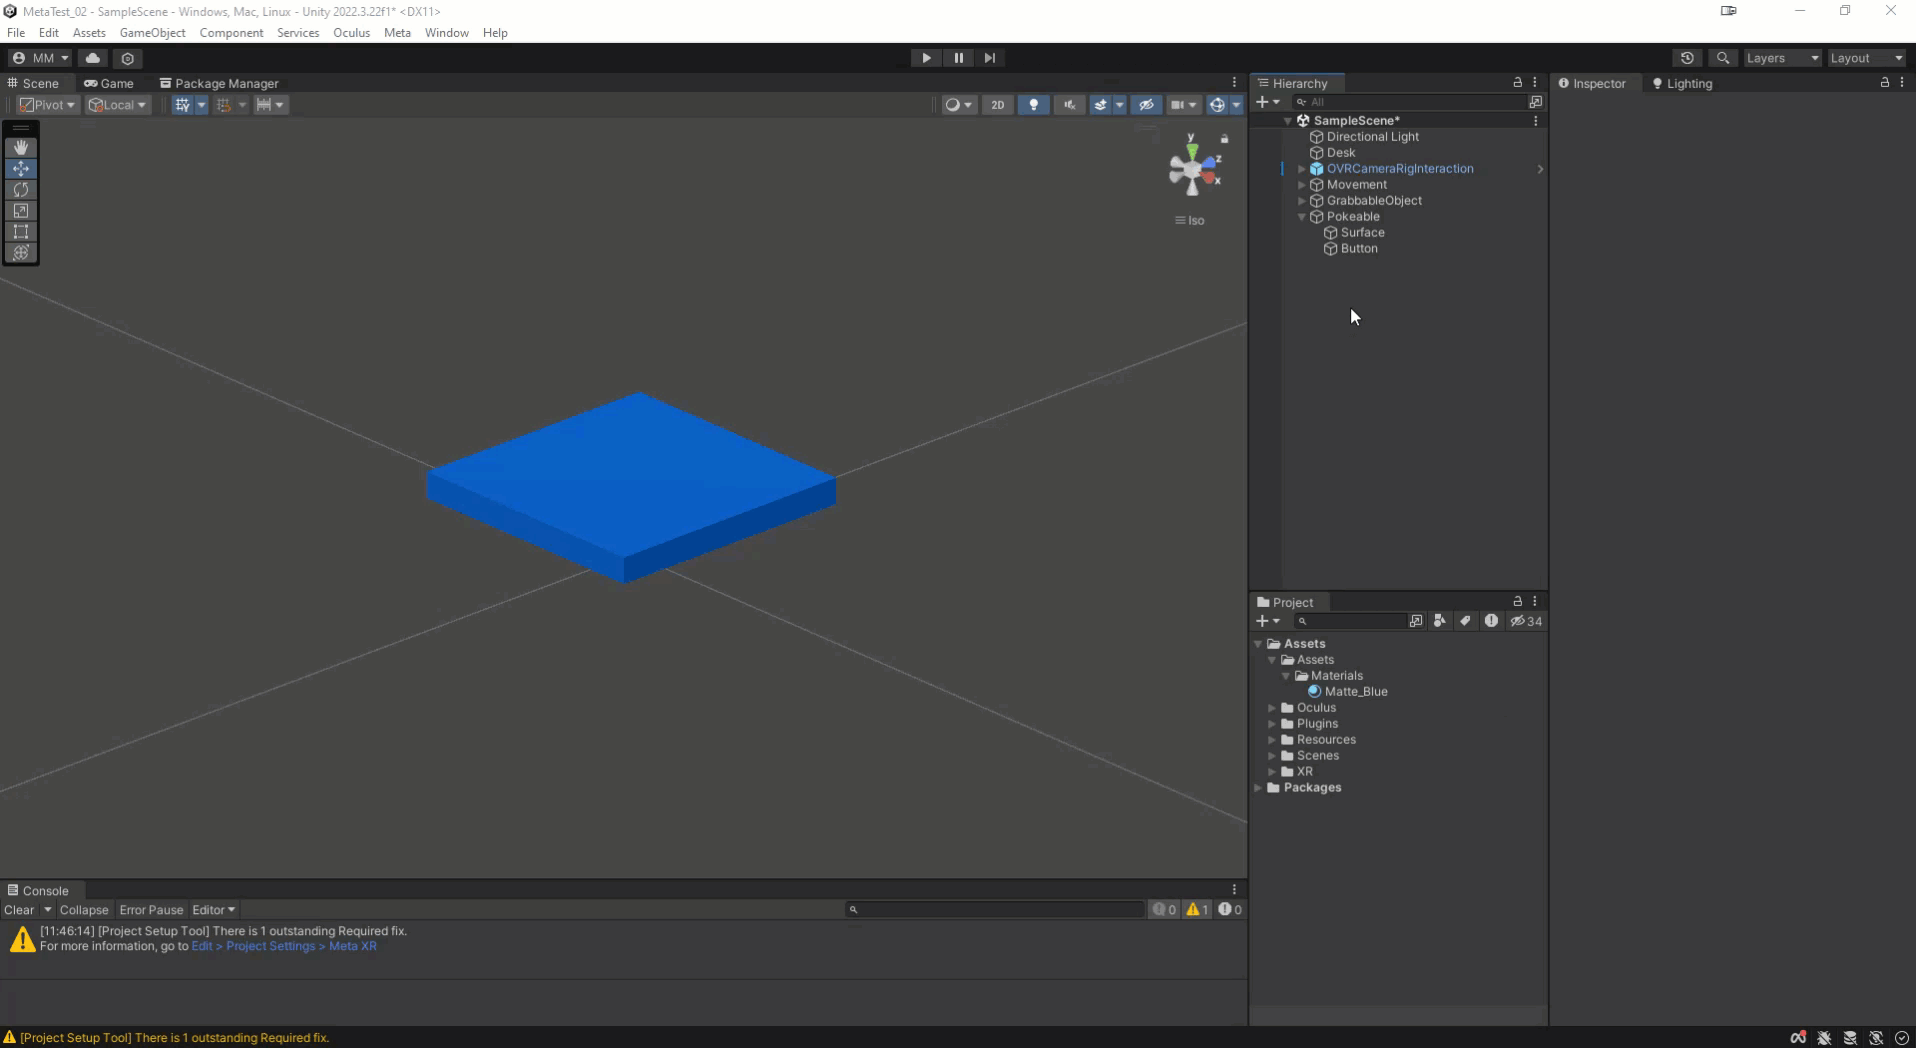
* A Blue Material was created to make it clearer in the environment.
* Move the position of the button asset to the 'top' of the pokeable interaction (blue circle).
Add Poke Interactable Visual component...
* Add a 'Poke Interactable Visual' component onto the 'Button' asset.
* Drag the 'Pokeable' asset onto the 'Poke Interactable' property.
* Drag the 'Surface' asset onto the 'Button Base Transform' property.
Add Interactable Unity Event Wrapper component...
* Add an 'Interactable Unity Event Wrapper' to the Pokeable parent asset.
* Drag the 'Poke Interactable' component into the 'Interactable View' property.
* You can then use the interactions in this script for events on different states.
* Add a material change on Select / Deselect by :
* Add a property to 'When Select ()' and 'When Unselect ()' category.
* Drop the Button asset into the property under the 'Runtime Only'.
* Select 'MeshRenderer / Material Material' in the Function pulldown.
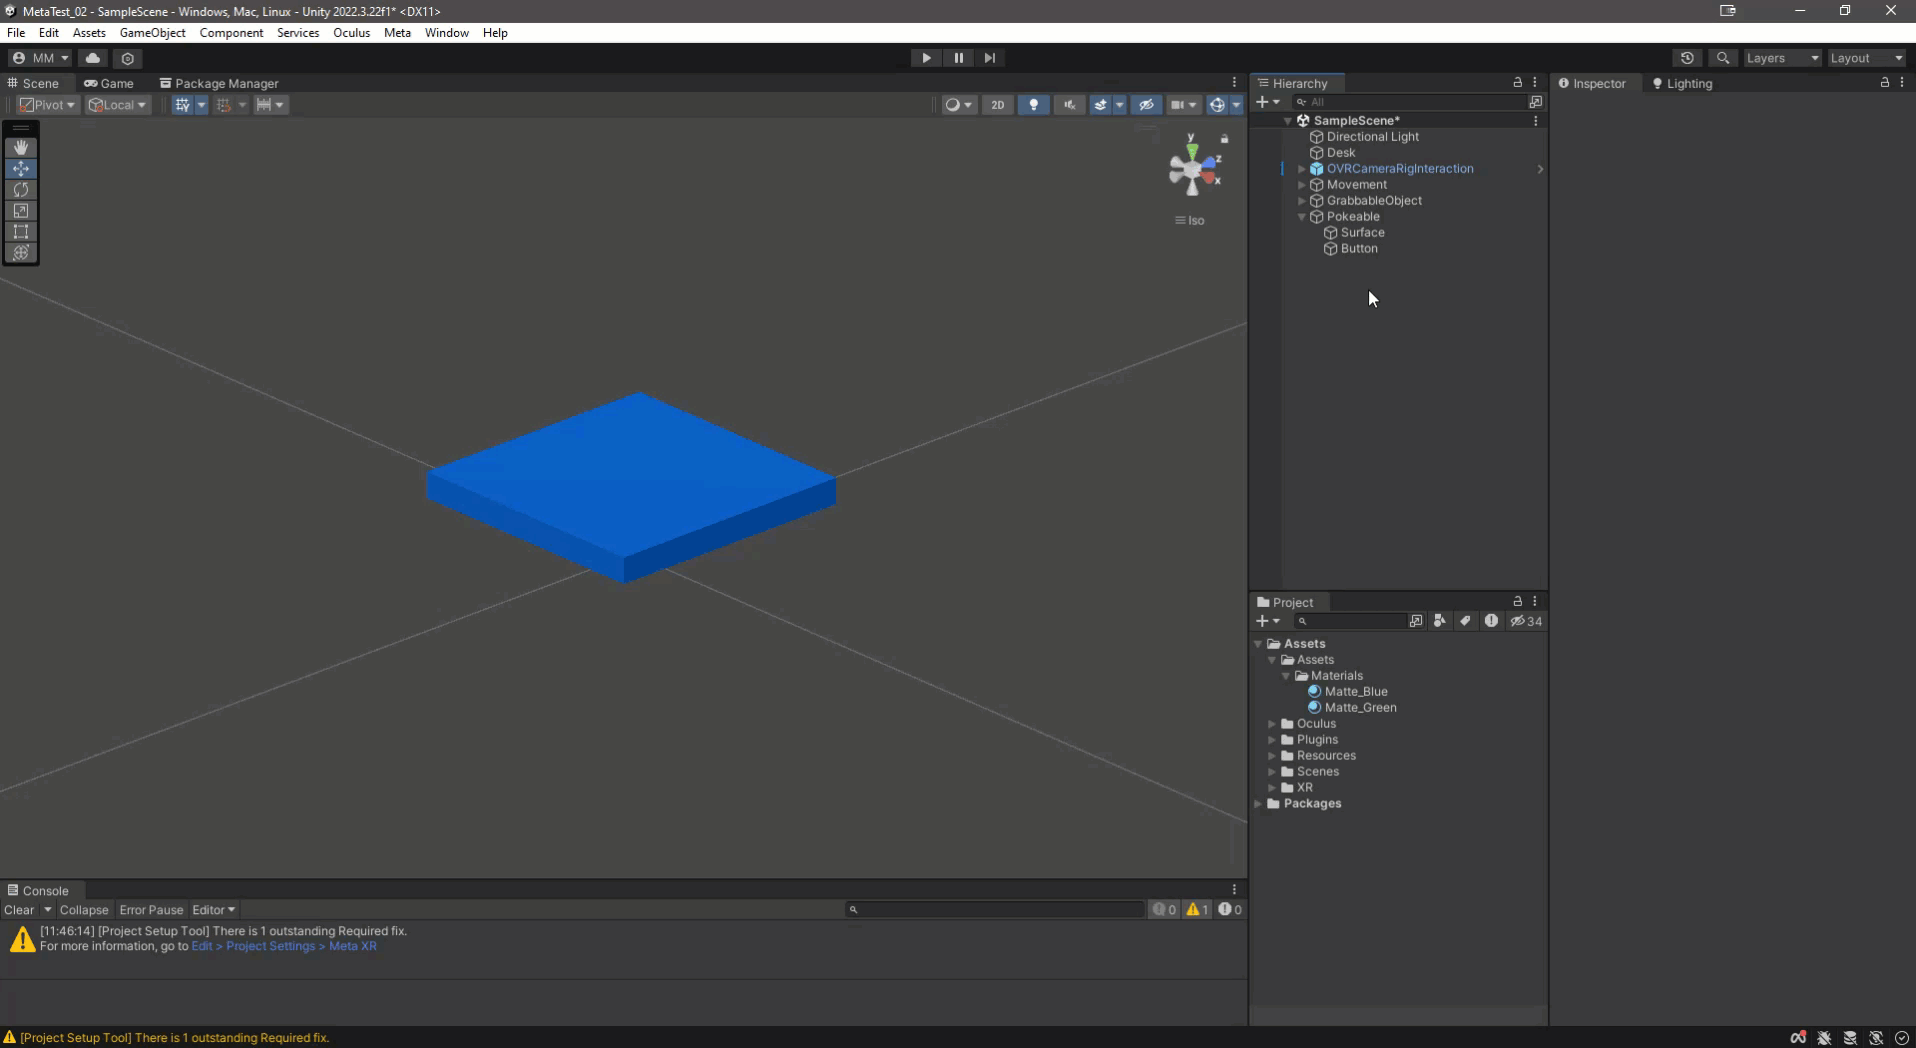
* Add the materials into the Material property as needed. In this case Green when selected, then reset to blue when not selected.
* Add custom code by :
* Create a new *public* script on an asset in the project.
* Drag that asset into the property under the 'Runtime Only'.
* Select your custom function in the Function pulldown.
* Move the 'Pokeable' asset to where you want the button to be placed.
{% endtab %}
{% tab title="Troubleshooting" %}
#### The button doesn't move when pressed...
Make sure that you only rotate the *Parent* object, not the children.
If you rotate the Surface asset for example, rather than scaling to its original direction and rotating the parent, the button transform may not work correctly.
{% endtab %}
{% endtabs %}